


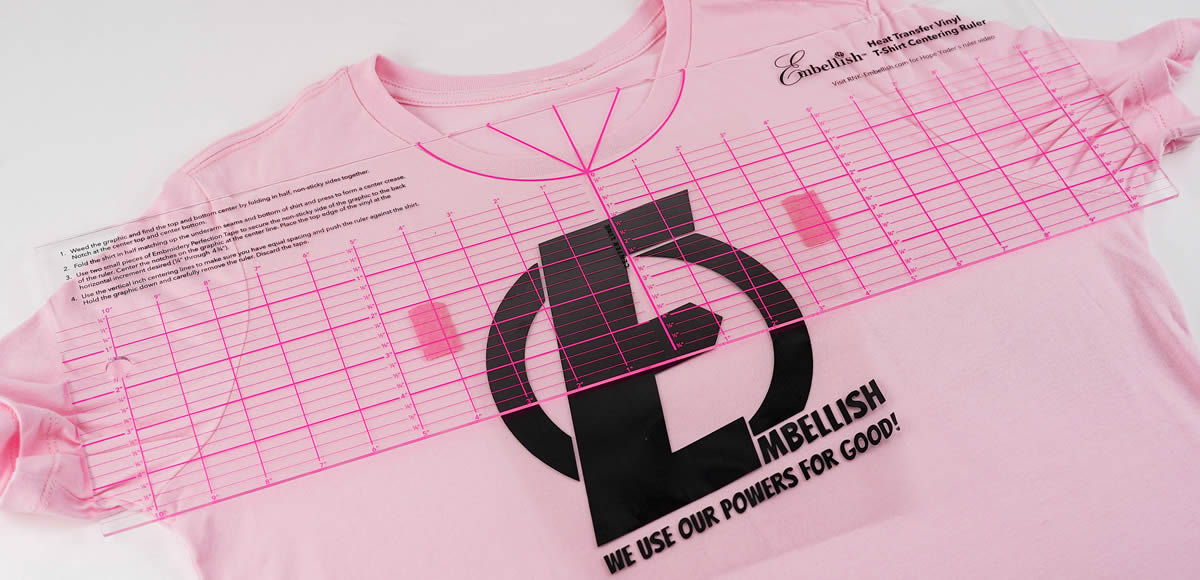
Check out this short video that shows how to use the revolutionary tool.
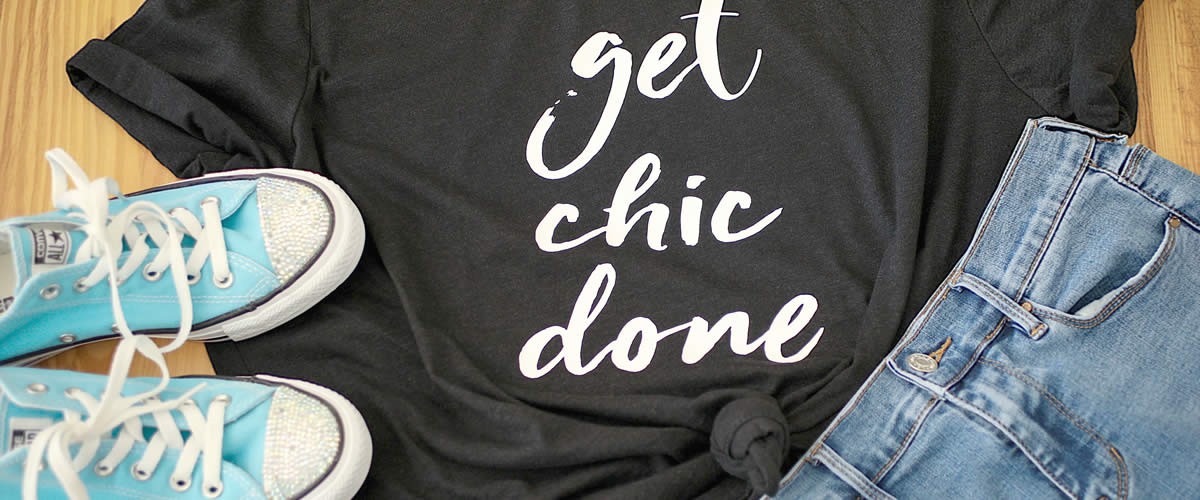
Step 1: Fold the weeded Embellish™ Heat Transfer Foil design in half so the non-sticky sides are together. Crease the center of the graphic from top to bottom.
Step 2: Decide how far down from the round neck or V-neck you want your graphic to be positioned. Turn the ruler over and align the center crease with the vertical center line on the ruler. Align the top of the graphic with a horizontal line and use RNK Embroidery Perfection Tape to hold the graphic to the ruler.
Step 3: Press the un-embellished shirt for 5-7 seconds to remove any moisture and to warm the shirt. Lay the warm shirt on a flat surface making sure the side seams are at the edge of the shirt.
Step 4: Flip the ruler over so the sticky side of the graphic is next to the shirt and hovering the ruler over the shirt. Align the ruler so there are equal amounts of space between the ruler and the underarm area making sure it is centered. Once this is aligned press the ruler down onto the shirt. Slip your hand between the ruler and the graphic. Hold the graphic firmly against the shirt and remove the ruler. Remove and discard the tape. Iron or heat press the graphic according to the manufacturer’s directions.